Signed in as:
filler@godaddy.com

The comfort handle. Put the screw through the large hole(not shown) and line up into the small hole. Thread it into the plate. Feed the plate and handle together to the center of the squeegee and finish tightening the screw.
Each tool gets a plastic cover over the felt. Remove and replace the plastic cover as needed.
For use on Aluminum tools only
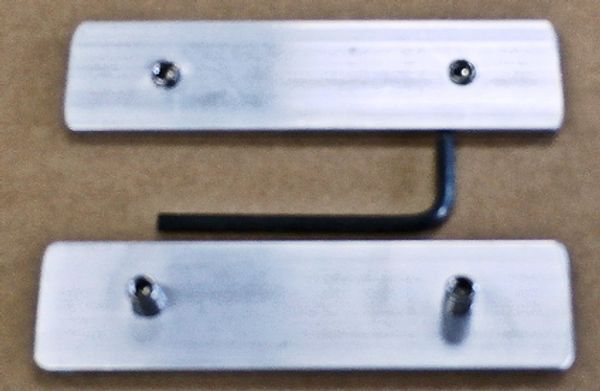
Insert the set screw plates on the end that is to be joined. These do not need to be tightened until the adjoining squeegee is in place. Center the plates in the joint. Check the alignment across the back side of the joined tools. Tighten the set screws. The short set screws need to be in the roll holder slot.

T-Handle
Loosen the Phillips head screw and position the handle to the center of the tool. Tighten the screw. If you have an extension, the larger pipe fits over the extension that comes with the handle.
Moving handles from one tool to another is made easier if the mounts are left on and the extensions are transferred. Extensions have tent pole type pins and can be transferred without any tools.
If the squeegee starts to bend on an application, change to a Double Handle.


Adjust the handle width and mark the squeegee where the Mount will need to go. Loosen the screw on each mount so plate fits in the back rail. Adjust them to line up with the marks on the squeegee and tighten the screws.
Use a formula of 1/2 - 2/3 the width of the squeegee to determine the settings for the handle width.